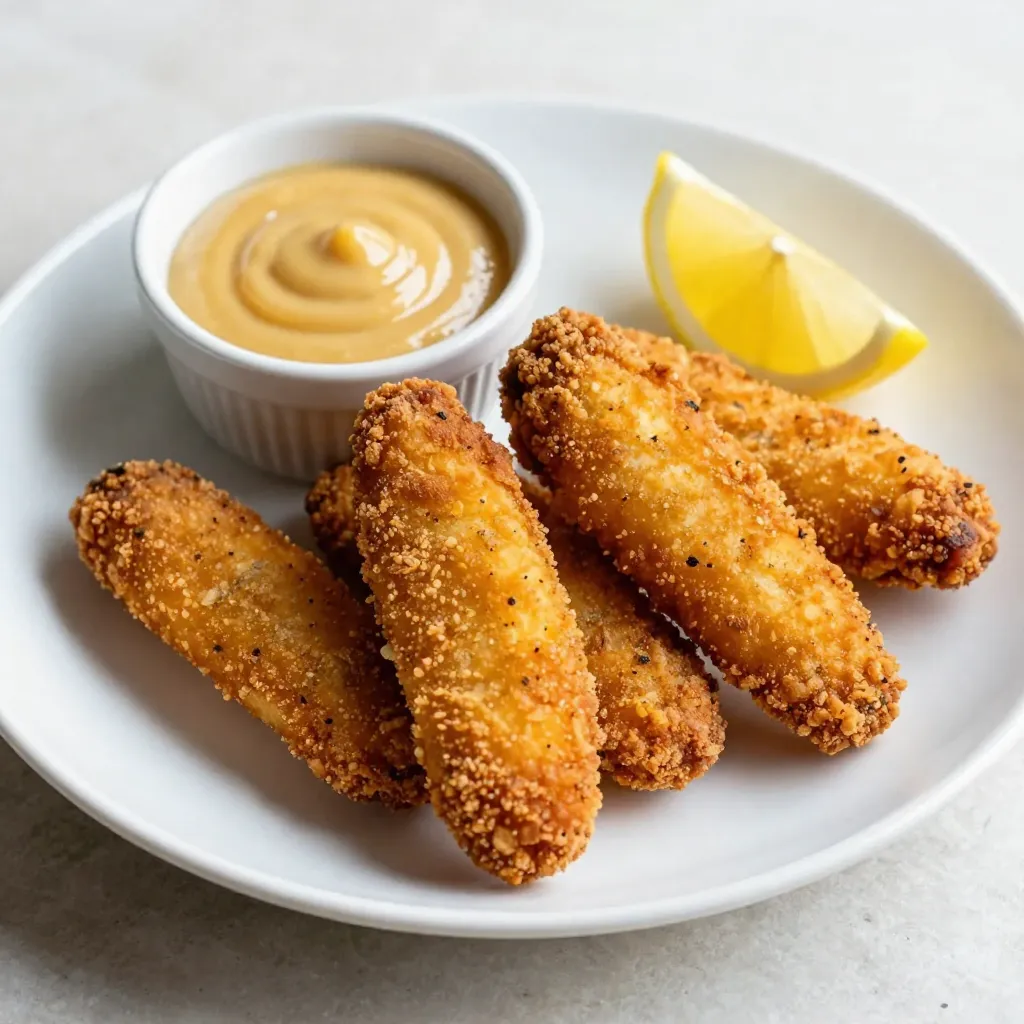
If you’re craving a meal that’s crispy, flavorful, and irresistible, you’re in the right place! Today, I’ll show you how to make Buttermilk Fried Chicken Tenders that will impress your family and friends. With simple ingredients and easy steps, you’ll learn how to create perfectly tender and crunchy chicken. Let’s dive in and make a dish that everyone will love!
Why I Love This Recipe
- Crispy Texture: The combination of all-purpose flour and cornstarch creates a delightful crunch that makes each bite irresistible.
- Flavorful Marinade: Marinating the chicken in buttermilk infused with spices results in tender, juicy tenders bursting with flavor.
- Versatile Dish: These chicken tenders are perfect for any occasion, whether served at a party, packed for lunch, or enjoyed as a family dinner.
- Easy to Make: With simple ingredients and steps, this recipe is approachable for cooks of all skill levels, making delicious results attainable!
Ingredients
Main Ingredients for Buttermilk Fried Chicken Tenders
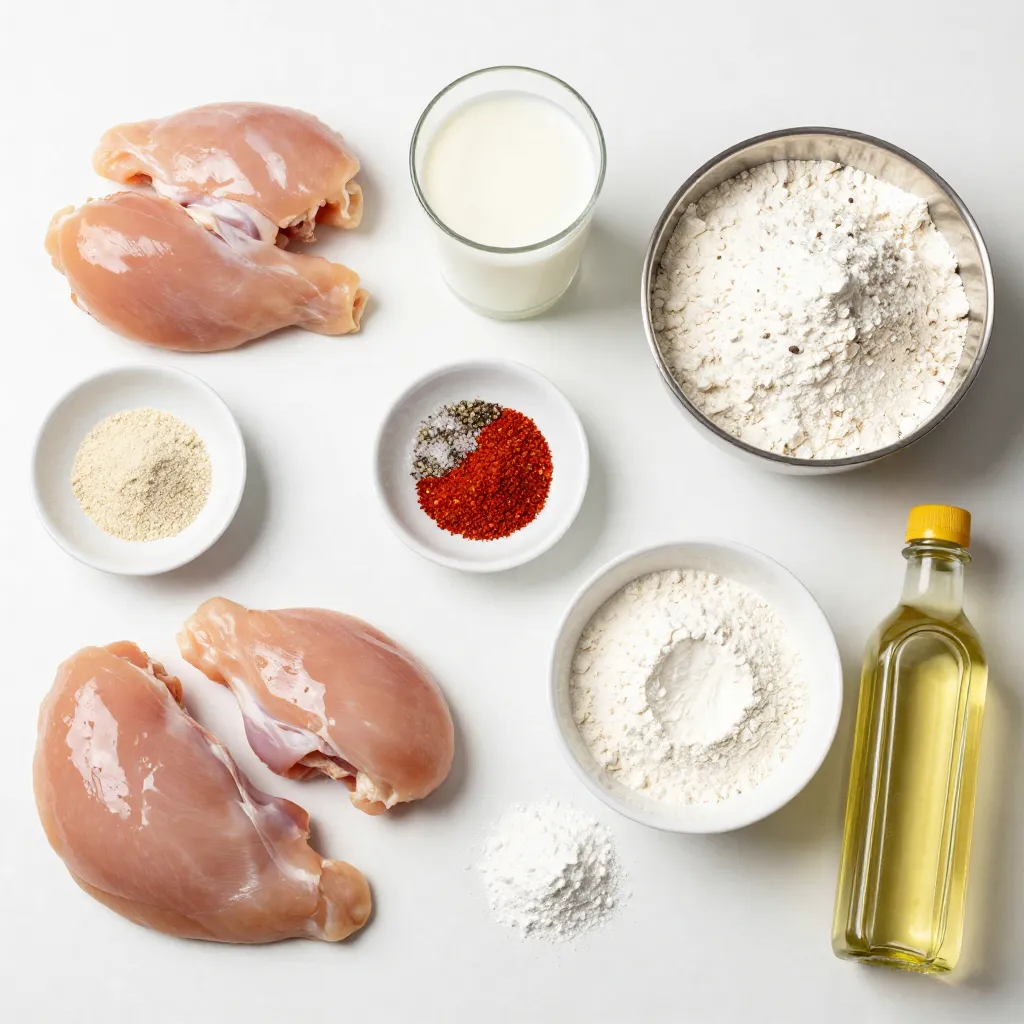
To make buttermilk fried chicken tenders, you need just a few main ingredients. Here’s what you’ll need:
– 1 pound chicken tenderloins
– 1 cup buttermilk
Chicken tenderloins are perfect for this dish. They are tender and cook quickly. Buttermilk adds flavor and helps keep the chicken juicy.
Essential Spices and Seasonings
Next, we add some spices to kick up the flavor. Here are the key seasonings:
– 1 teaspoon garlic powder
– 1 teaspoon onion powder
– 1 teaspoon smoked paprika
– 1 teaspoon freshly ground black pepper
– 1 teaspoon kosher salt
These spices bring out the best in your chicken. Garlic and onion powder add depth, while smoked paprika gives a nice, subtle kick.
Coating Mix Components
Finally, the coating mix makes the tenders crispy. Here’s what you need:
– 1 cup all-purpose flour
– 1/2 cup cornstarch
– 1 teaspoon baking powder
– Vegetable oil, for frying
The flour and cornstarch create a crunchy shell. Baking powder helps make it extra crispy. Using vegetable oil ensures that the chicken fries evenly and stays golden brown.
With these ingredients, you’re ready to create a dish that is both crispy and flavorful!
Step-by-Step Instructions
Preparing the Buttermilk Marinade
To start, grab a large mixing bowl. In it, combine 1 cup of buttermilk, 1 teaspoon of garlic powder, 1 teaspoon of onion powder, 1 teaspoon of smoked paprika, 1 teaspoon of black pepper, and 1 teaspoon of kosher salt. Whisk these ingredients together until smooth. This mixture adds flavor and helps the chicken become tender.
Next, add 1 pound of chicken tenderloins to the marinade. Make sure each piece is covered well. Cover the bowl with plastic wrap or a lid. Place it in the fridge for at least 1 hour, or even better, overnight. This step is key for great taste and juicy chicken.
Dredging Chicken in Flour Mixture
While the chicken marinates, prepare the coating. In another large bowl, mix together 1 cup of all-purpose flour, 1/2 cup of cornstarch, and 1 teaspoon of baking powder. Stir well to avoid lumps.
After the chicken has marinated, take it out of the fridge. Let the extra buttermilk drip off each piece. Dredge the chicken in the flour mixture, making sure to coat it evenly. Shake off any excess flour. This coating gives the tenders their crispy texture.
Frying Techniques for Perfectly Cooked Tenders
Now it’s time to fry! Heat about 1 inch of vegetable oil in a large, deep skillet over medium-high heat. Use a cooking thermometer to check the temperature; aim for around 350°F (175°C).
Carefully add the coated chicken tenders to the hot oil in batches. Don’t overcrowd the pan; this keeps the oil hot. Fry each tender for about 4 to 6 minutes on each side, until they turn golden brown. Use a meat thermometer to check that the internal temperature reaches 165°F (75°C).
Once cooked, use a slotted spoon to move the fried tenders to a paper towel-lined plate. This step helps absorb any extra oil. Repeat with the remaining chicken until all are crispy and golden. Enjoy your delicious buttermilk fried chicken tenders!
Tips & Tricks
Achieving Maximum Crispy Texture
To get that perfect crisp, start with a good coating. Mix all-purpose flour with cornstarch. The cornstarch adds extra crunch. Use baking powder in the mix to help the coating puff up. Make sure to shake off any extra flour. This helps keep the coating light.
Marination Duration for Best Flavor
Marinating your chicken is key. Let it soak in buttermilk for at least one hour. For the best results, marinate overnight. This makes the chicken tender and full of flavor. The longer it sits, the better it tastes!
Monitoring Oil Temperature for Frying
Keep an eye on the oil temperature. Heat it to about 350°F (175°C). Use a cooking thermometer for accuracy. If the oil is too hot, the outside will burn. If it’s too cool, the chicken will absorb oil and become greasy. Fry in small batches to maintain the right temperature.
Pro Tips
- Marinate Longer for Flavor: For the best flavor and tenderness, consider marinating the chicken tenderloins overnight. This allows the spices to penetrate deeper into the meat.
- Perfect Oil Temperature: Use a cooking thermometer to maintain the oil temperature at 350°F (175°C) for optimal frying. This ensures a crispy exterior while keeping the chicken juicy inside.
- Batch Frying: Fry the chicken tenders in small batches to avoid overcrowding the pan, which can lower the oil temperature and lead to soggy tenders.
- Rest After Frying: Allow the fried chicken tenders to rest on a paper towel-lined plate for a few minutes after cooking. This helps to remove excess oil and keeps them crispy.
Variations
Spicy Buttermilk Fried Chicken Tenders
Want to kick the heat up a notch? Add some heat with spices. Mix in 1-2 teaspoons of cayenne pepper into your buttermilk marinade. This adds a spicy kick without overpowering the flavor. You can also use hot sauce. Just whisk in a few dashes to the buttermilk. The longer you let the chicken soak, the spicier it gets.
Oven-Baked Alternatives
Not in the mood for frying? You can create crispy chicken tenders in the oven. Preheat your oven to 400°F (200°C). After coating the chicken, place them on a baking sheet lined with parchment paper. Spray them lightly with cooking oil. Bake for 20-25 minutes. Flip halfway through for even cooking. The tenders will still be tasty and crunchy!
Gluten-Free Coating Suggestions
Need a gluten-free option? Swap out regular flour for a gluten-free blend. You can find many mixes that work well. Cornstarch is already gluten-free, which helps keep the coating light and crispy. Just make sure all your ingredients are certified gluten-free. This way, everyone can enjoy these tasty tenders!
Storage Info
Best Practices for Storing Leftovers
After enjoying your buttermilk fried chicken tenders, store leftovers properly. First, let them cool at room temperature for about 30 minutes. This step helps prevent sogginess. Next, place them in an airtight container. You can layer parchment paper between the tenders to keep them crispy. Keep the container in the fridge. They will stay fresh for up to three days.
Reheating Methods for Optimal Crispiness
To reheat your chicken tenders without losing that crispy texture, use an oven. Preheat your oven to 375°F (190°C). Spread the tenders on a baking sheet lined with parchment paper. Bake for about 10-15 minutes. This method helps revive their crunch. If you’re in a hurry, use an air fryer. Set it to 350°F (175°C) for about 5-7 minutes. This keeps them crispy and tasty.
Freezing Chicken Tenders for Future Use
Freezing is great for keeping your chicken tenders longer. First, let them cool completely. Then, place them in a single layer on a baking sheet. Freeze them for 1-2 hours until firm. After that, transfer the frozen tenders to a freezer-safe bag. Remove as much air as possible before sealing. They will last up to three months in the freezer. When ready to eat, follow the reheating method for best results.
FAQs
Can I use regular milk instead of buttermilk?
Yes, you can use regular milk. Buttermilk adds a tangy taste and helps the chicken stay moist. If you use regular milk, try adding a tablespoon of vinegar or lemon juice to mimic buttermilk’s tang. Let it sit for about five minutes before using.
How do I know when the chicken tenders are fully cooked?
To check if your chicken tenders are done, use a meat thermometer. The safe internal temperature is 165°F (75°C). You can also cut into a tender. The meat should be white, not pink, and the juices should run clear. Cook them until they are golden brown and crispy on the outside.
What are some good dipping sauce options?
There are many tasty sauces to try! Here are a few ideas:
– Zesty honey mustard
– Creamy ranch
– Spicy buffalo sauce
– Sweet and sour sauce
– BBQ sauce
These sauces enhance the flavor of your crispy chicken tenders and make each bite exciting!
In this post, we explored how to make delicious buttermilk fried chicken tenders. We covered key ingredients and spices, detailed step-by-step cooking methods, and shared tips for the best texture and flavor. You learned about variations like spicy options and oven-baked alternatives, along with storage and reheating tips.
Now, you have everything you need to create perfect tenders at home. Enjoy experimenting and sharing these tasty bites with friends and famil