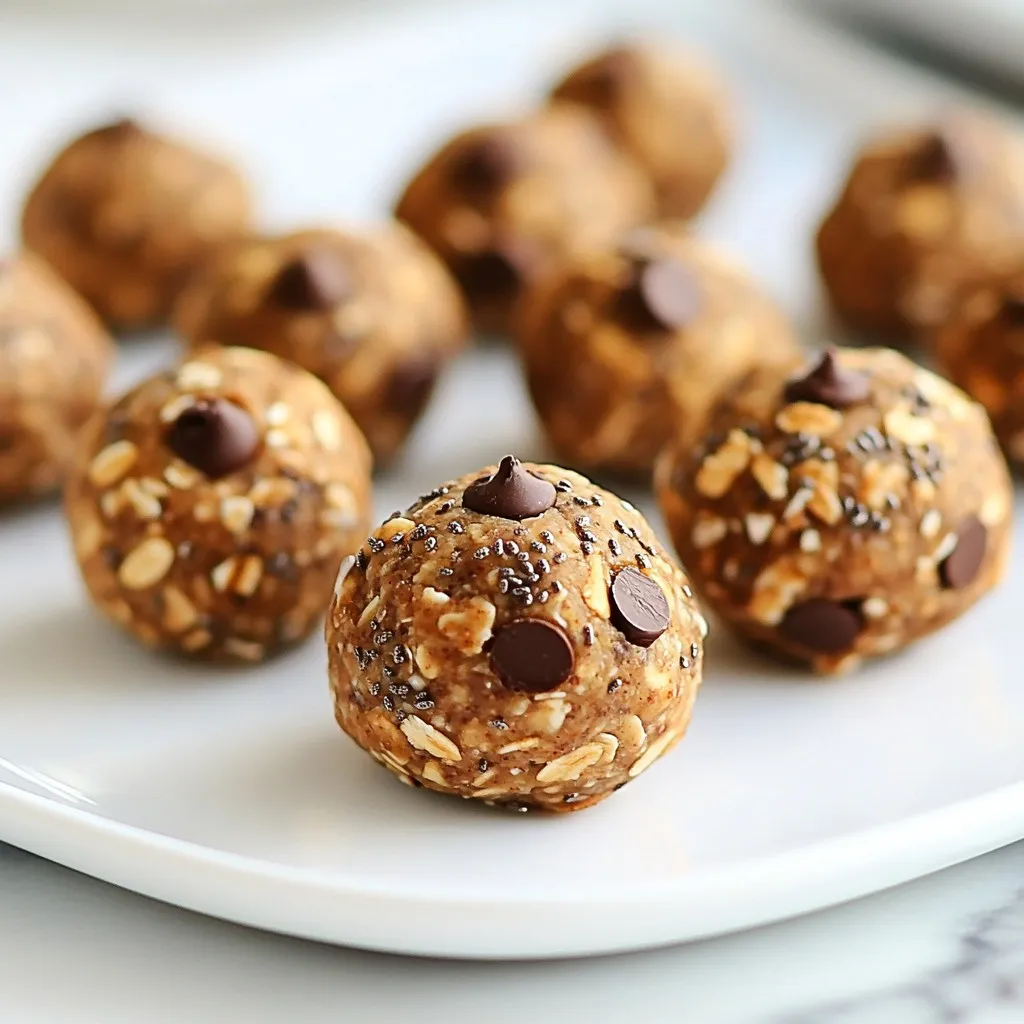
Are you ready to transform your snacking game? Chocolate Peanut Butter Energy Balls are not just a treat; they’re packed with flavor and nutrition. With simple ingredients like oats, peanut butter, and dark chocolate chips, these bite-sized delights offer the perfect balance of energy and taste. Follow my easy step-by-step guide to whip up a batch that’ll keep you fueled throughout the day. Let’s dive in!
Why I Love This Recipe
- Quick and Easy: This recipe comes together in just 10 minutes, making it a perfect snack option for busy days.
- Nutritious Ingredients: Packed with rolled oats, chia seeds, and natural peanut butter, these energy balls provide a healthy energy boost.
- Customizable: Feel free to swap out ingredients or add extras like nuts or dried fruit to suit your taste preferences.
- Perfect for Meal Prep: These energy balls can be made ahead of time and stored in the fridge, ensuring you have a quick snack on hand whenever you need it.
Ingredients
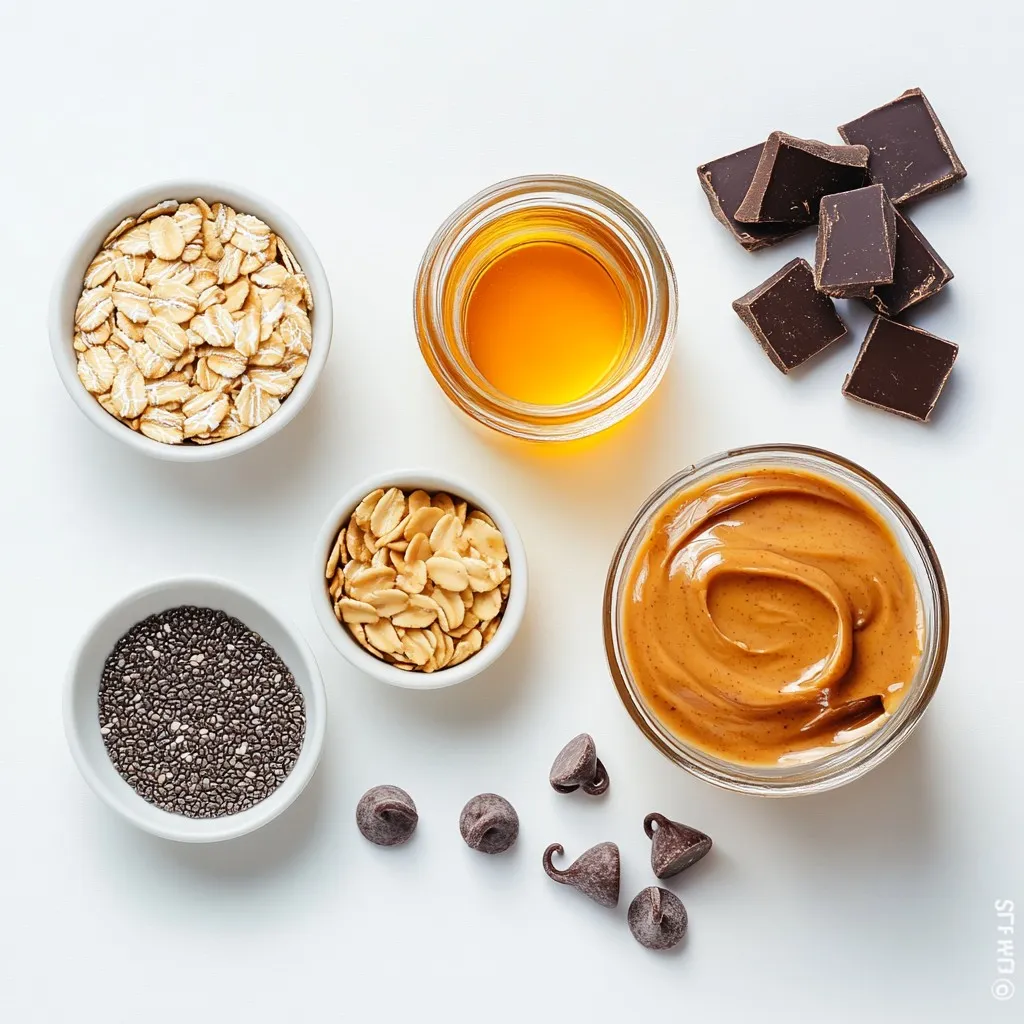
List of Ingredients
– 1 cup rolled oats
– ½ cup natural peanut butter
– ¼ cup honey or maple syrup
– ¼ cup dark chocolate chips
– 2 tablespoons chia seeds
– 1 teaspoon vanilla extract
– A pinch of salt
Gather your ingredients before starting. Using rolled oats as a base gives these energy balls great texture. I love using natural peanut butter because it adds creamy flavor without extra additives. You can pick honey or maple syrup for sweetness. It’s great to have dark chocolate chips; they give a rich taste. Chia seeds add nutrients and a slight crunch. Don’t forget pure vanilla extract; it boosts the flavor. A pinch of salt balances all the sweetness.
With these ingredients, you create energy balls that are not only tasty but also packed with nutrition. You can enjoy them as a snack or a quick breakfast. The mix of flavors makes each bite enjoyable. Plus, they are quick to make!
Step-by-Step Instructions
Mixing the Base Ingredients
First, grab a big mixing bowl. Add 1 cup of rolled oats, ½ cup of natural peanut butter, ¼ cup of honey or maple syrup, and 1 teaspoon of vanilla extract. Use a sturdy spatula or spoon to mix these ingredients. Stir until you reach a smooth and cohesive texture. This step is key. You want everything to blend well, making it easy to form your energy balls later.
Adding Flavor and Texture
Next, it’s time to add some fun! Toss in ¼ cup of dark chocolate chips and 2 tablespoons of chia seeds. Don’t forget a pinch of salt to boost the flavors. Mix gently to ensure even distribution. The chocolate chips bring sweetness, while the chia seeds add a nice crunch and nutrients. This mix will taste great and feel good for your body.
Forming the Energy Balls
Now, let’s get hands-on! Scoop out about tablespoon-sized portions of the mixture. Roll each piece into a ball shape using your hands. If the mix feels sticky, just dampen your hands with a little water. This trick makes rolling easier and keeps the mixture from sticking to you.
Chilling and Storing
Once you have rolled all the balls, arrange them on a tray lined with parchment paper. Make sure they are spaced apart so they do not stick together. Now, pop the tray into the refrigerator. Chill for at least 30 minutes. This helps the energy balls firm up and improves their texture. After chilling, transfer them into an airtight container. Store them in the fridge to keep them fresh for up to one week. Enjoy your tasty, healthy snacks!
Tips & Tricks
Best Practices for Mixing
To get a good blend, you need the right tools. I love using a sturdy spatula or a strong spoon. They help mix the ingredients well. Start with a large mixing bowl. This way, you have enough room to stir.
Make sure you mix until every ingredient is combined. This ensures that every bite packs the same great flavor. I often check for clumps. If you find any, keep mixing until they are gone.
Achieving Perfect Texture
Sometimes, the mixture can feel sticky. If it does, don’t worry! You can wet your hands slightly. This trick makes rolling the balls easier.
If you want a firmer texture, add more oats or chia seeds. This helps the energy balls hold their shape better. Just remember to mix well after adding any extra ingredients.
Serving Suggestions
These energy balls pair well with many snacks. Try serving them with fresh fruit or yogurt. They make a great snack after school or before a workout.
For presentation, arrange them on a nice plate. You can sprinkle some chia seeds on top for a fun look. This makes them not just tasty but also pretty!
Pro Tips
- Use a Cookie Scoop: A cookie scoop can help you achieve uniform-sized energy balls, making them more visually appealing and ensuring even texture.
- Experiment with Mix-ins: Feel free to add other ingredients like shredded coconut, nuts, or dried fruits for added flavor and nutrition.
- Storage Tips: Store the energy balls in an airtight container in the refrigerator to maintain freshness and prevent them from getting too soft.
- Chill for Extra Firmness: If you prefer a firmer texture, you can chill the energy balls for longer than 30 minutes before serving.
Variations
Flavor Enhancements
You can make these energy balls even tastier. One way is by adding nuts or seeds. Chopped almonds or walnuts give a nice crunch. Sunflower seeds or pumpkin seeds add healthy fats too. You can also use different types of chocolate. Try milk chocolate for a sweeter taste. Dark chocolate gives a rich flavor. You can even mix both for a fun twist.
Nutritional Substitutions
Want to make these energy balls vegan? Swap honey for pure maple syrup. This keeps the sweetness while staying plant-based. To make it gluten-free, use certified gluten-free rolled oats. This way, everyone can enjoy these tasty bites safely.
Customizing for Dietary Needs
If you’re watching your sugar intake, try low-sugar alternatives. Use sugar-free chocolate chips or reduce the amount of honey. For a protein boost, add protein powder to the mix. You can also include nut butter with extra protein. This makes the energy balls not just tasty but also filling and nutritious.
Storage Info
Best Practices for Storage
To keep your Chocolate Peanut Butter Energy Balls fresh, use airtight containers. This helps block moisture and air, preserving flavor. Store them in the fridge for the best results. Keeping them cold helps maintain their shape and texture.
Shelf Life
When stored in the refrigerator, these energy balls stay fresh for about one week. If you want to keep them longer, freezing is a great option. You can freeze them for up to three months. Just place them in a container or freezer bag, separating layers with parchment paper.
Reheating/Lasting Tips
If you freeze your energy balls, let them thaw in the fridge. This helps revive their texture. If they feel too hard, you can leave them out for a few minutes before eating. Always check for signs of spoilage. If they smell off or show mold, it’s best to throw them away.
FAQs
How long do Chocolate Peanut Butter Energy Balls last?
Chocolate Peanut Butter Energy Balls stay fresh in the fridge for up to one week. They taste best when chilled. To keep them longer, store them in an airtight container. If you freeze them, they can last for about three months. Just remember to thaw them in the fridge before eating.
Can I substitute peanut butter with another nut butter?
Yes, you can switch peanut butter for another nut butter. Almond butter or cashew butter works well in this recipe. Each nut butter brings its own unique flavor. Just make sure to choose a natural nut butter without added sugars or oils for the best taste.
Are these energy balls suitable for a vegan diet?
These energy balls can easily fit into a vegan diet. Simply replace honey with pure maple syrup. This keeps the sweetness without using animal products. All other ingredients are already plant-based, making them a great snack for vegans.
Can I make these energy balls without honey?
Absolutely! You can use pure maple syrup instead of honey. This change keeps the energy balls sweet while making them vegan-friendly. If you prefer, you can also try agave syrup. Just keep the same amount to ensure the right texture.
These energy balls are easy to make and packed with flavor. We mixed rolled oats, peanut butter, and sweeteners for a tasty snack. Adding chocolate chips and chia seeds gives a nice crunch. Remember, you can adjust the recipe to fit your taste and dietary needs. Store them properly to keep them fresh. Enjoy these healthy bites as a quick pick-me-up anytime. Making them is fun, and sharing them is even better. Try these tips and make your own tasty treats toda