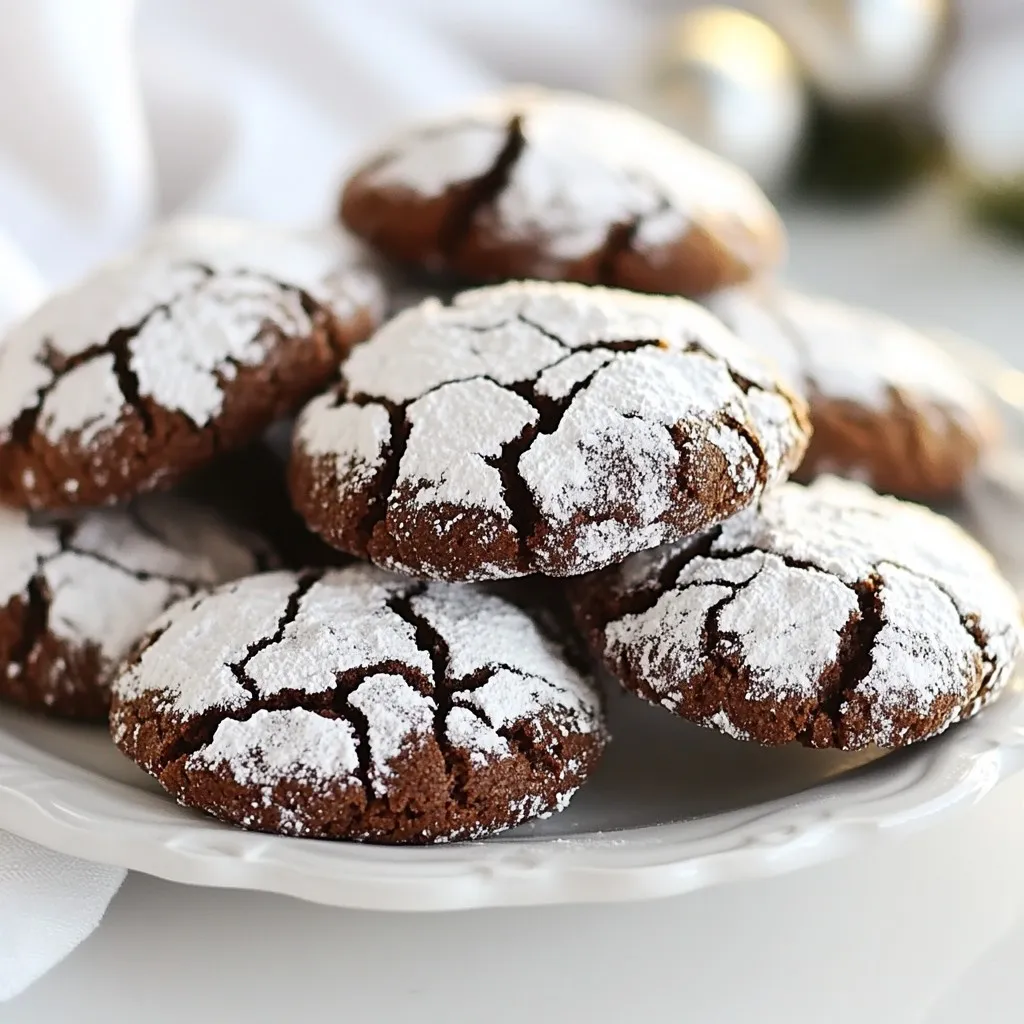
Are you ready to bake a treat that brings festive cheer? Gingerbread Crinkle Cookies combine warm spices and a rich, chewy texture for a delightful bite. These cookies not only look stunning with their crinkly tops, but their sweet scent will fill your kitchen with holiday joy. Follow along as I share simple steps and tips to create these yummy treats. Let’s dive into the world of gingerbread magic together!
Why I Love This Recipe
- Festive Flavor: The warm spices of ginger, cinnamon, and nutmeg create a delightful holiday aroma that fills your kitchen, bringing the spirit of the season to life.
- Beautiful Presentation: These cookies come out with a stunning crinkle effect, dusted in powdered sugar, making them look like little snowballs perfect for holiday gatherings.
- Easy to Make: With straightforward steps and common ingredients, this recipe is perfect for bakers of all levels, making it a great choice for holiday baking parties.
- Delightfully Chewy: The texture of these cookies strikes a perfect balance between being soft and chewy, making them irresistible and perfect for dunking in milk or tea.
Ingredients
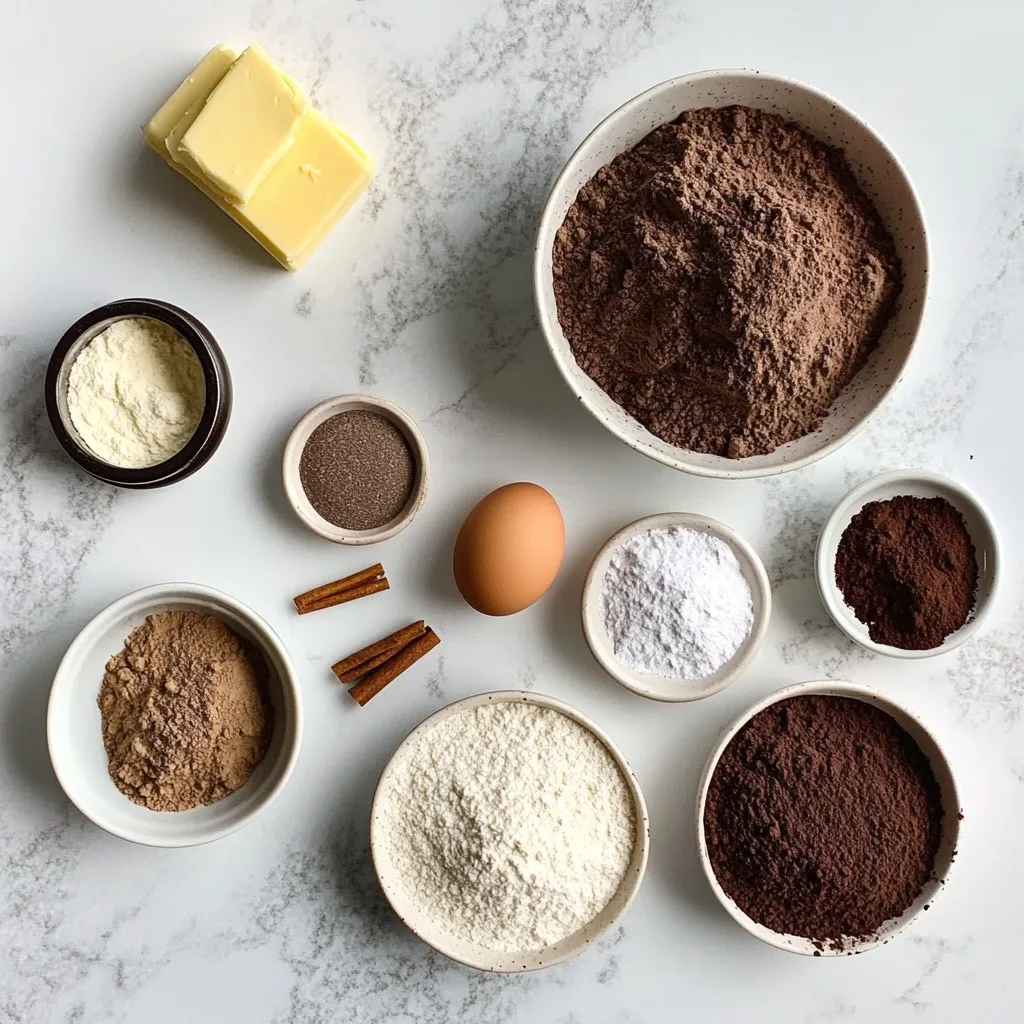
To make Gingerbread Crinkle Cookies, you need some simple ingredients. Each one plays a key role in the flavor and texture of these delightful treats. Here’s your shopping list:
– 2 cups all-purpose flour
– 1/4 cup unsweetened cocoa powder
– 1 teaspoon baking soda
– 1/2 teaspoon salt
– 2 teaspoons ground ginger
– 1 teaspoon ground cinnamon
– 1/2 teaspoon ground nutmeg
– 1/2 cup unsalted butter, softened to room temperature
– 1 cup packed brown sugar, light or dark
– 1/4 cup unsulfured molasses
– 1 large egg
– 1 teaspoon pure vanilla extract
– 1 cup powdered sugar (for rolling)
Each ingredient contributes to the cookie’s rich flavor. The spices like ginger and cinnamon give warmth. Cocoa powder adds a deep, chocolatey taste. The molasses adds sweetness and a hint of chewiness. Using unsalted butter helps control the saltiness in your cookies.
Make sure to gather everything before you start baking. This way, you won’t miss an essential part of your recipe! Happy baking!
Step-by-Step Instructions
Prepping the Oven and Baking Sheet
Start by preheating your oven to 350°F (175°C). This step is key for even baking. Next, grab a baking sheet and line it with parchment paper. This helps the cookies not stick and makes clean up easy.
Mixing Dry Ingredients
In a medium bowl, combine 2 cups of all-purpose flour, 1/4 cup of unsweetened cocoa powder, 1 teaspoon of baking soda, 1/2 teaspoon of salt, 2 teaspoons of ground ginger, 1 teaspoon of ground cinnamon, and 1/2 teaspoon of ground nutmeg. Use a whisk to mix these ingredients well. This blend gives the cookies their rich flavor.
Creaming Butter and Sugar
In a large bowl, use an electric mixer to cream together 1/2 cup of softened unsalted butter and 1 cup of packed brown sugar. Mix at medium speed for 3-5 minutes until the mixture is light and fluffy. This step adds air, making your cookies soft.
Combining Wet Ingredients
Now it’s time to add in 1/4 cup of unsulfured molasses, 1 large egg, and 1 teaspoon of pure vanilla extract. Beat this mixture until everything is smooth. Scrape the bowl’s sides to mix well. This ensures every bite is full of flavor.
Mixing Dry and Wet Ingredients
Gradually add the dry mix to the wet mix. Use low speed on your mixer to combine them. Mix until you no longer see dry flour. This is the dough that will become your cookies.
Chilling the Dough
Cover the bowl with plastic wrap and refrigerate the dough for at least 30 minutes. Chilling the dough helps it firm up. This makes it easier to shape later.
Shaping the Cookies
After chilling, take the dough out. Scoop tablespoon-sized portions and roll them into balls with your hands. Then, roll each ball in 1 cup of powdered sugar. Make sure they are well-coated for a snowy look.
Baking the Cookies
Place the sugar-coated dough balls on the prepared baking sheet, spacing them about 2 inches apart. Bake in the preheated oven for 10-12 minutes. The edges should be set, but the centers can stay soft. They will continue to cook as they cool.
Cooling the Cookies
Once baked, take the baking sheet out of the oven. Let the cookies cool on the sheet for about 5 minutes. This makes them easier to move. After that, transfer them to a wire rack to cool completely. Enjoy the delightful smell as they cool!
Tips & Tricks
Techniques for Achieving Crinkle Texture
To get the perfect crinkle on your cookies, you need to coat them well in powdered sugar. This sugar layer helps create those beautiful cracks. When the cookies bake, the sugar melts and forms a nice texture. Make sure you roll the dough balls in the sugar generously.
Cooling Time for Optimal Texture
Let your cookies cool on the baking sheet for about 5 minutes. This cooling time is key. It allows the edges to set while keeping the centers soft. After that, move them to a wire rack. This step helps them firm up without becoming dry.
Recommended Baking Equipment
For the best results, use a heavy baking sheet. It helps the cookies bake evenly. Lining the sheet with parchment paper is also a must. It prevents sticking and makes clean-up a breeze. An electric mixer will save you time while creaming the butter and sugar.
Pro Tips
- Chill the Dough: Refrigerating the dough for at least 30 minutes helps to firm it up, making it easier to roll into balls and ensuring better shape during baking.
- Quality Ingredients: Using high-quality spices and unsulfured molasses will enhance the flavor profile of your cookies, making them more aromatic and flavorful.
- Watch the Baking Time: Keep an eye on your cookies as they bake; removing them when the centers are slightly underbaked will result in a soft and chewy texture.
- Presentation Matters: For a festive touch, dust your cookies with additional powdered sugar just before serving, or serve them with a cinnamon stick or rosemary sprig for added charm.
Variations
Alternative Spices for Flavor
You can change the spices in your gingerbread crinkle cookies. Try adding allspice for warmth or cloves for a bold taste. Cardamom gives a unique twist too. Adjusting spices lets you create your own flavor profile.
Adding Chocolate Chips or Nuts
Adding chocolate chips or nuts can enhance your cookies. Dark or milk chocolate gives a rich flavor that pairs well with ginger. Chopped pecans or walnuts add crunch and depth. Mix in one cup for a delightful surprise in each bite.
Gluten-Free and Vegan Options
You can make these cookies gluten-free and vegan. Substitute all-purpose flour with almond or oat flour. Use flaxseed meal mixed with water instead of egg. Replace butter with coconut oil or vegan butter. These swaps allow everyone to enjoy gingerbread crinkle cookies.
Storage Info
Best Practices for Cookie Storage
To keep your Gingerbread Crinkle Cookies fresh, store them in an airtight container. Place a piece of parchment paper between layers to avoid sticking. Keep the cookies at room temperature for up to one week. If the cookies dry out, add a slice of bread to the container. This helps keep them soft and moist. Avoid storing them in the fridge, as this can make them hard.
Freezing Cookies for Long-Term Storage
To freeze your cookies, let them cool completely. Place them in a single layer on a baking sheet. Freeze for about one hour. Once frozen, transfer them to a freezer-safe bag. Remove as much air as possible before sealing. You can freeze the cookies for up to three months. When you’re ready to enjoy them, simply thaw at room temperature.
Reheating Guidelines
If you want your cookies warm, preheat your oven to 300°F (150°C). Place the cookies on a baking sheet and heat for about 5-7 minutes. This warms them up and brings back that fresh-baked taste. You can also microwave them for 10-15 seconds, but be careful not to overdo it. This can make them tough. Enjoy your cookies just like they were baked!
FAQs
How do I achieve the perfect crinkle on my cookies?
To get the best crinkle, coat the dough balls well in powdered sugar. This sugar layer helps the cookies crack as they bake. Place the dough balls on a baking sheet with space between them. Bake until the edges are firm but the center is soft. This contrast leads to a nice crinkle.
Can I use a different type of sugar?
Yes, you can swap brown sugar for white sugar. However, brown sugar adds moisture and flavor. If you use white sugar, your cookies may be less chewy. Consider using a mix of both for a balanced taste.
What’s the best way to store leftover cookies?
Store leftover cookies in an airtight container. This keeps them fresh and soft. If you live in a humid area, add a piece of bread to help maintain moisture. Always keep the container sealed to prevent drying out.
How long do these cookies last?
These cookies can last up to one week at room temperature. If you want them to last longer, store them in the fridge. They can stay fresh for up to two weeks when stored properly.
Can I substitute molasses with something else?
You can use honey or maple syrup as a substitute for molasses. However, the flavor will change slightly. Molasses gives a rich, deep taste that honey or syrup cannot fully replicate. If using honey or syrup, reduce the sugar slightly to balance sweetness.
You now know how to make delicious cookies with a crinkle effect. We covered the ingredients, step-by-step instructions, and tips to enhance texture. Remember to chill the dough for the best results. You can also try different spices and add-ins to make them your own. Proper storage can keep your cookies fresh longer. Enjoy baking and sharing these treat