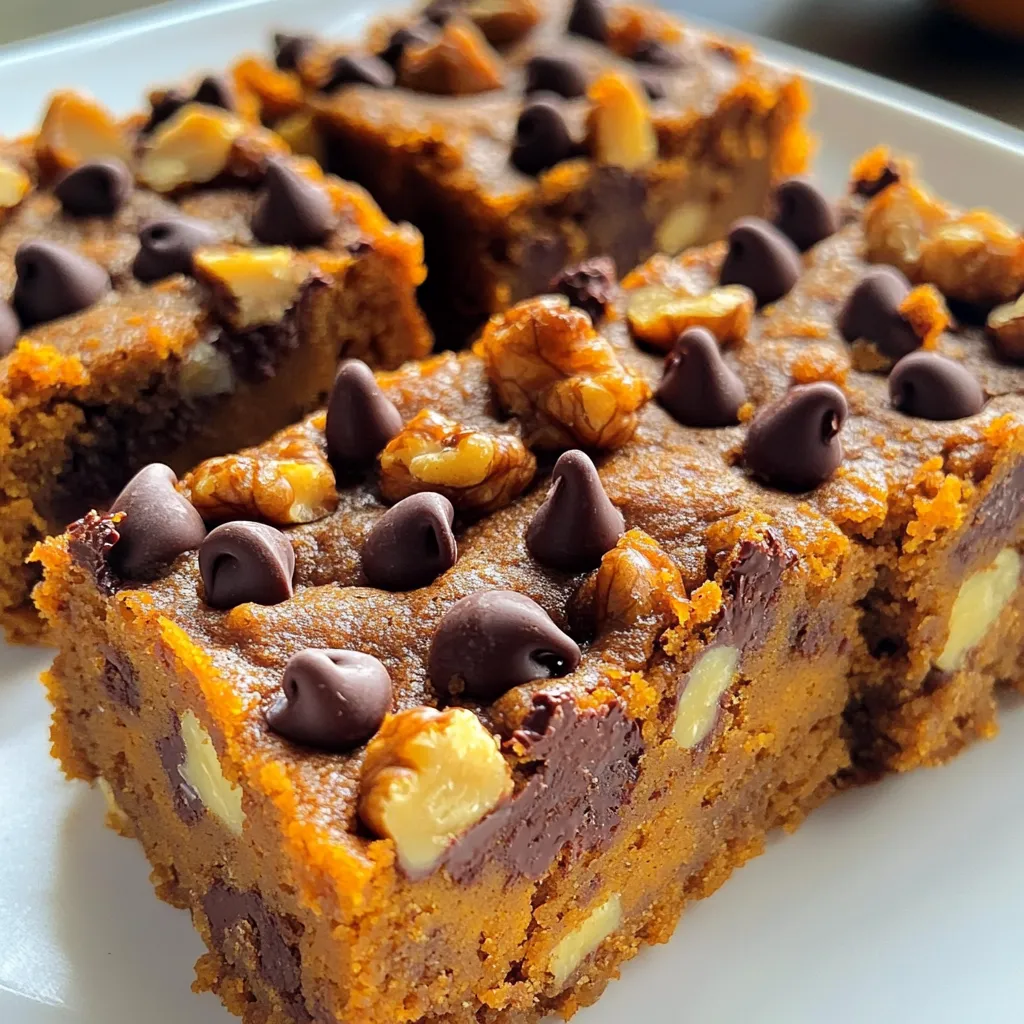
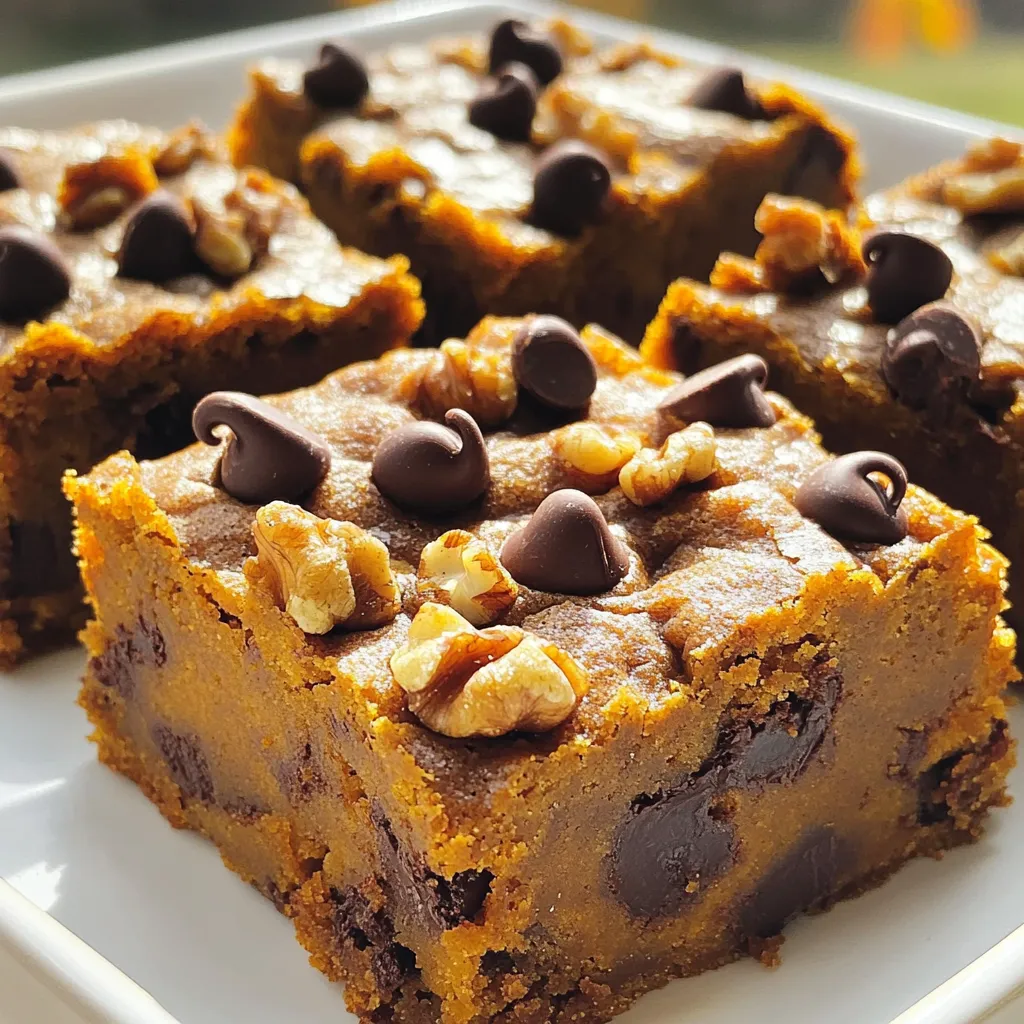
Are you ready to indulge your taste buds with a treat that combines fall flavors and chocolate goodness? My Pumpkin Chocolate Chip Bars are an irresistible dessert that you can whip up easily. Packed with warm spices and rich chocolate, these bars are perfect for any occasion. In this article, I’ll guide you through every step to create these delicious bars and share tips to make them just right. Let’s dive in!
Ingredients
List of Essential Ingredients
– 1 cup canned pumpkin puree
– 1/2 cup vegetable oil
– 1 cup brown sugar, packed
– 1/2 cup granulated sugar
– 2 large eggs
– 1 teaspoon vanilla extract
To make these tasty bars, you start with canned pumpkin puree. It adds moisture and flavor. Next, use vegetable oil for a soft texture. The brown sugar gives a rich taste, while granulated sugar sweetens the mix. Eggs help the bars rise, and vanilla extract adds a lovely aroma.
Dry Ingredients
– 1 cup all-purpose flour
– 1 teaspoon baking soda
– 1/2 teaspoon baking powder
– 1 teaspoon ground cinnamon
– 1/2 teaspoon ground nutmeg
– 1/4 teaspoon salt
The dry mix is key to the bars’ structure. All-purpose flour is your base. Baking soda and baking powder help the bars rise. Ground cinnamon and nutmeg bring fall flavors. Finally, a dash of salt balances the sweetness perfectly.
Optional Add-ins
– 1 cup chocolate chips (semi-sweet or dark)
– 1/2 cup chopped walnuts
Adding chocolate chips makes these bars a real treat. You can use semi-sweet or dark chocolate for different flavors. If you like a bit of crunch, toss in some chopped walnuts. They add texture and a nutty taste.
Step-by-Step Instructions
Preparation Steps
1. First, preheat your oven to 350°F (175°C). This helps your bars bake evenly.
2. Next, get an 8×8-inch baking pan. Grease it and line it with parchment paper. Leave some paper hanging over the edges for easy removal.
3. In a large bowl, add 1 cup of canned pumpkin puree, 1/2 cup of vegetable oil, 1 cup of brown sugar, and 1/2 cup of granulated sugar. Mix it well until smooth.
Combining Ingredients
1. Now, crack in 2 large eggs, one at a time. Mix well after each egg.
2. Add 1 teaspoon of vanilla extract and stir until everything is combined.
3. In another bowl, whisk together 1 cup of all-purpose flour, 1 teaspoon of baking soda, 1/2 teaspoon of baking powder, 1 teaspoon of ground cinnamon, 1/2 teaspoon of ground nutmeg, and 1/4 teaspoon of salt. Make sure it’s mixed well for good flavor.
Baking the Bars
1. Gradually mix the dry ingredients into the pumpkin mixture. Stir gently until just combined. A few lumps are okay; don’t overmix!
2. Carefully fold in 1 cup of chocolate chips and 1/2 cup of chopped walnuts if you want. Make sure they are evenly spread throughout the batter.
3. Pour the batter into your prepared pan. Smooth the top with a spatula.
4. Bake in the preheated oven for 25-30 minutes. Check with a toothpick in the center. If it comes out clean, your bars are done.
5. Let the bars cool in the pan for about 10 minutes. Use the parchment paper to lift them out onto a wire rack. Let them cool completely before slicing. Enjoy your delicious pumpkin chocolate chip bars!
Tips & Tricks
Baking Tips for Perfect Bars
To make the best pumpkin chocolate chip bars, avoid overmixing. Mix the dry ingredients and wet ingredients separately. Once you combine them, stir gently until just mixed. A few lumps are fine. This keeps the bars light and fluffy.
For even baking, spread the batter evenly in your pan. Use a spatula to smooth the top. This helps the bars cook uniformly. Check for doneness by inserting a toothpick in the center. If it comes out clean, they are ready.
Presentation Tips
To make your bars look extra special, dust the top with powdered sugar. Use a fine sieve to sprinkle lightly. This adds a nice touch and a sweet finish.
Serving suggestions include adding a dollop of whipped cream on each square. This creamy addition enhances the flavor and makes them even more delightful.
Troubleshooting Common Issues
If your bars turn out dense, try adding a bit more baking powder. This helps them rise and become lighter. Also, make sure not to overmix the batter.
For underbaked bars, return them to the oven for a few more minutes. Check again with a toothpick. If they are overbaked, they may dry out. Keep an eye on the time and adjust as needed.
Variations
Flavor Enhancements
You can make your Pumpkin Chocolate Chip Bars even tastier. Try adding spices like ginger or cloves for a warm kick. You can also mix in a bit of allspice for depth. If you want to cut back on sugar, consider using honey or maple syrup. These natural sweeteners offer a unique flavor twist.
Dietary Adjustments
If you need gluten-free bars, use almond or coconut flour instead of all-purpose flour. Both flours give great flavor and texture. For vegan options, substitute the eggs with flaxseed meal or unsweetened applesauce. You can also replace the vegetable oil with coconut oil for a richer taste.
Mix-ins and Swaps
You don’t have to stick with chocolate chips. Try using dried cranberries or raisins for a fruity touch. You can also add chopped apples or pecans for extra crunch. Want to get fancy? Create a cream cheese swirl by mixing softened cream cheese with a bit of sugar and vanilla. Swirl this into the batter before baking for a delightful surprise.
Storage Info
How to Store Pumpkin Chocolate Chip Bars
To keep your bars fresh, store them well. For short-term storage at room temperature, place them in an airtight container. They stay good for about three days on your kitchen counter. If you want them to last longer, refrigerate them. Just wrap them tightly in plastic wrap or store them in a container. This way, they can stay fresh for up to a week. For long-term storage, you can freeze them. Cut the bars into squares, then place them in a freezer-safe bag. They can last for up to three months in the freezer.
Shelf Life
To keep your bars fresh, follow these best practices. Always store them in airtight containers. This keeps moisture and air out. If you see any signs of spoilage, like mold or a strange smell, toss them out. Fresh bars should have a soft, moist texture. If they feel dry or crumbly, they may be past their prime.
Reheating Tips
To reheat your Pumpkin Chocolate Chip Bars, use the microwave. Place a bar on a microwave-safe plate. Heat it for about 10-15 seconds. This method helps keep the texture soft and warm. If you want to serve leftovers, try adding a scoop of vanilla ice cream or whipped cream on top. This makes each bite even more delightful!
FAQs
How long do Pumpkin Chocolate Chip Bars last?
Pumpkin chocolate chip bars stay fresh for about 3 to 5 days at room temperature. To keep them tasty, store them in an airtight container. You can also place parchment paper between layers to stop sticking.
To check if they’re still good, look for any mold or a bad smell. If they feel dry or crumbly, it’s time to toss them. Fresh bars should feel soft and moist but not wet.
Can I use fresh pumpkin instead of canned?
Yes, you can use fresh pumpkin! Fresh pumpkin gives a more natural taste. However, it has more moisture than canned pumpkin. This can make your bars too wet.
To use fresh pumpkin, cook it first. Bake or steam it until soft. Then, mash it well and drain any extra liquid. This way, you will keep the right texture in your bars.
What can I substitute for eggs in this recipe?
If you want a vegan option, there are good egg replacements. You can use applesauce, mashed bananas, or flaxseed meal. Each option will keep your bars moist and tasty.
To replace one egg, mix 1/4 cup of applesauce or mashed banana. For flaxseed, mix 1 tablespoon of flaxseed meal with 3 tablespoons of water. Let it sit for a few minutes.
Make sure to adjust the recipe slightly. You may need to reduce some liquid if you use applesauce or banana. This change keeps your bars from becoming too wet.
The blog covered how to make delicious Pumpkin Chocolate Chip Bars. We explored essential and dry ingredients, plus optional add-ins. I outlined step-by-step instructions, offered baking tips, shared storage info, and answered your common questions.
These bars are perfect for any occasion. With variations and adjustments, everyone can enjoy them. Don’t hesitate to experiment! Enjoy baking and savoring your creations.